Delicious recipes and easy desserts!
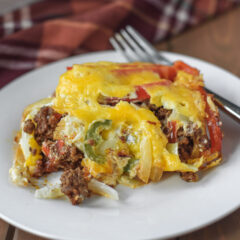
Have you ever heard of John Wayne Casserole? Delicious ... Get the Recipe
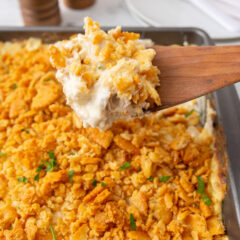
Million dollar chicken casserole is an easy, creamy, ... Get the Recipe
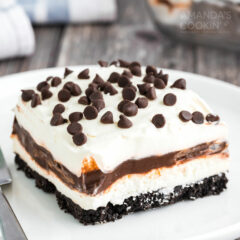
This no-bake Chocolate Lasagna is filled with a creamy ... Get the Recipe
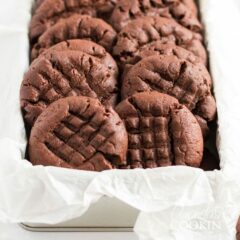
My family loves my soft peanut butter cookies and my ... Get the Recipe